You can have a CCTV camera perfectly set up, razor-sharp and streaming in crisp high resolution yet still end up with video footage that is pretty much useless.
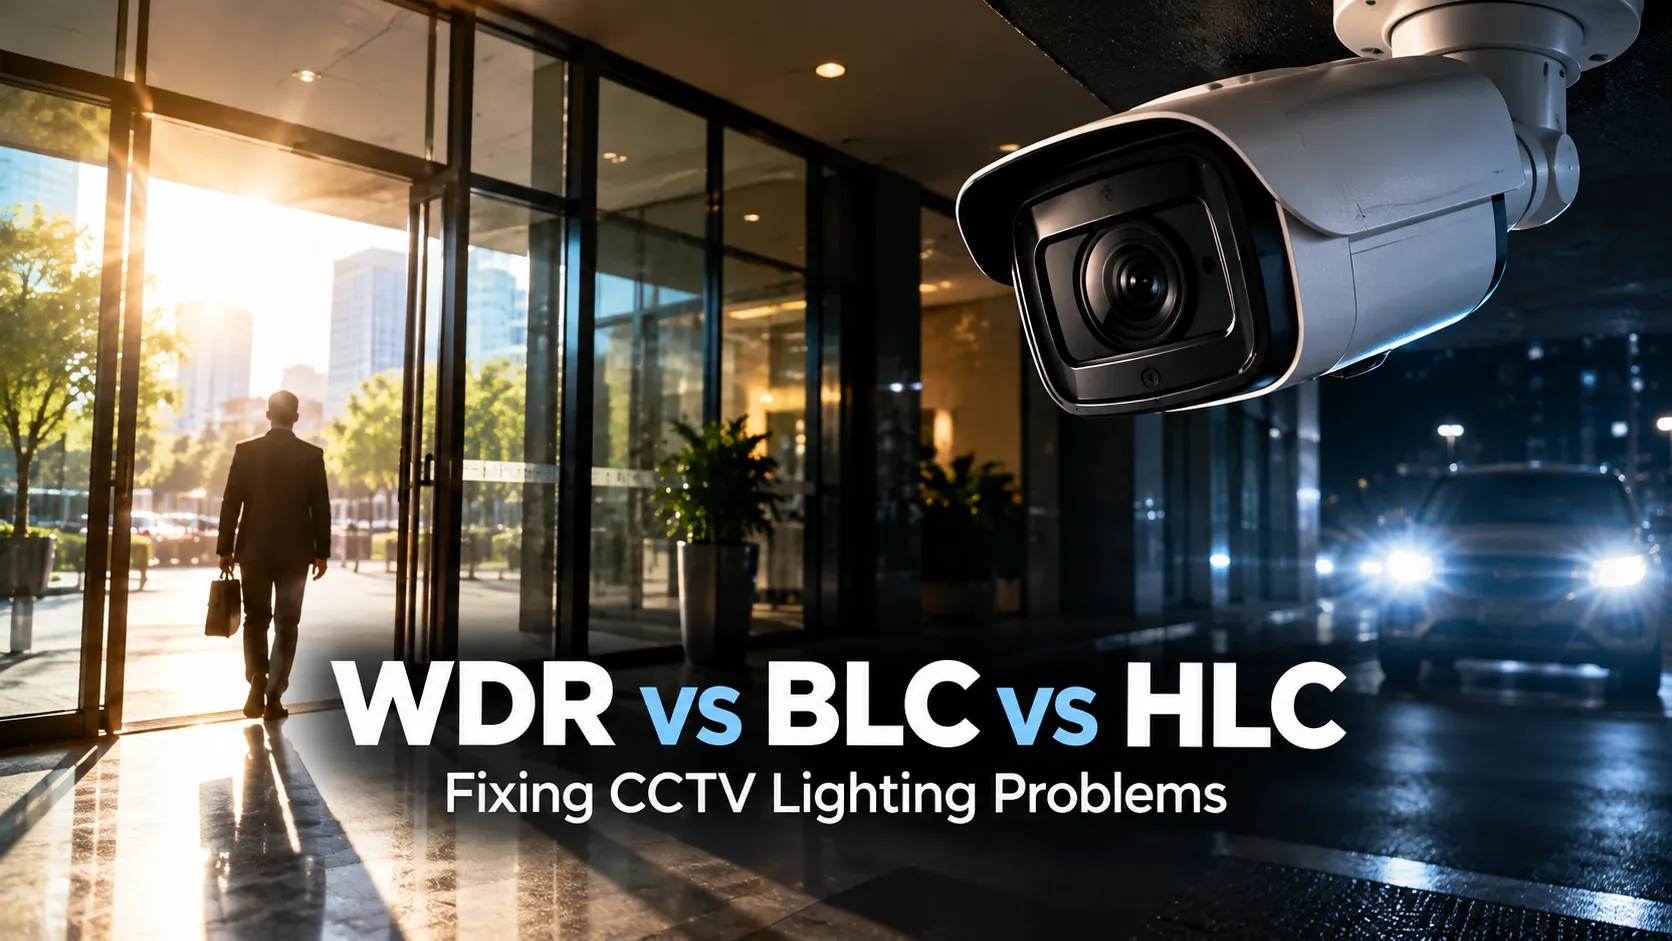
Picture this: someone walks through a glass front door and instantly turns into a dark silhouette. A car pulls up to a loading dock at night and its headlights show up as giant glowing white blobs. Or maybe your reception desk looks fine, but everything outside the main window is completely washed out.
These aren’t broken cameras. They’re just classic exposure problems. Understanding WDR vs BLC vs HLC is therefore one of the most practical steps in Fixing CCTV Lighting Problems without changing the camera or redesigning the entire surveillance system.
Modern security cameras come with tools like WDR, BLC and HLC to tackle tricky lighting, but each function is designed for a specific job. Picking the wrong one might fix one spot on screen while ruining another. In commercial security, getting this right is critical. Security teams aren’t trying to capture pretty scenery; they need clear, usable evidence like a recognizable face at the doorway, readable details around a car or a solid view across a room with mixed lighting. Take modern Tiandy cameras, for example. Many models bundle these settings together, offering 120 dB WDR alongside BLC and HLC, while others pair digital WDR with those same controls. The real trick is knowing which setting to use for each scenario.
Why Cameras Struggle with Mixed Light
At its core, a camera has to figure out the right balance for exposing a scene. When most of the view is dim, the camera naturally bumps up exposure so you can actually see what’s in the shadows. But if there’s a bright patch of light in that same frame, it quickly gets blown out and turns completely white. Flip that around if the camera dials back the exposure to keep those bright spots clear, everything in the darker areas gets swallowed by shadows.
This gap between the brightest highlights and the darkest shadows is what we call dynamic range. Whenever that contrast stretches beyond what the camera can comfortably capture in a single shot, you start losing detail on one end or the other. Axis explanation of difficult dynamic-range scenes Axis Documentation
In security environments, these tricky lighting setups happen all the time. Think of a lobby sitting under standard indoor lighting while bright afternoon sun pours through the glass entry. Or a dim parking garage opening straight into blinding daylight. Even outdoors, you’ll often have harsh sunlight and deep shadows right next to each other in the same shot.
Nighttime brings its own set of challenges. The overall scene might be dark, but bright vehicle headlights, security floodlights or glowing signs cut through in small, intense spots. Ultimately, the camera has to prioritize which part of the view matters most. That’s where features like WDR, BLC, and HLC come in, each offering a different way to handle the problem. Looking at WDR vs BLC vs HLC side by side makes Fixing CCTV Lighting Problems much easier because each mode addresses a different kind of exposure failure.
How WDR Handles Bright and Dark Areas
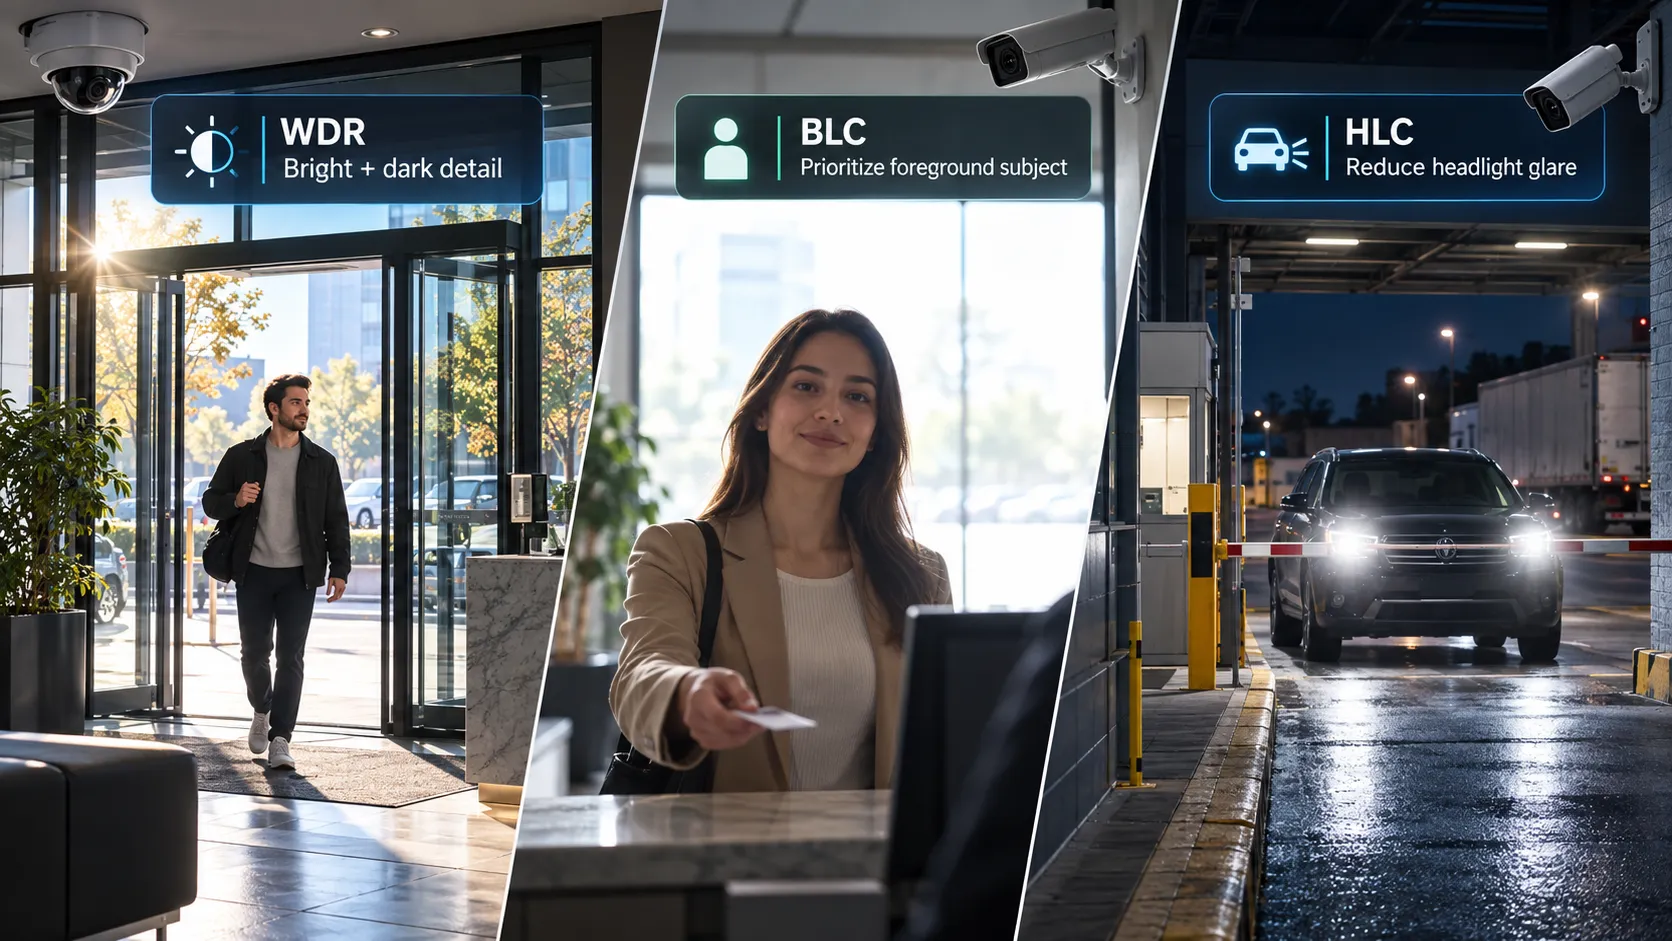
When comparing WDR vs BLC vs HLC, WDR is the mode designed for scenes where important details exist across both bright and dark areas. That distinction is central to Fixing CCTV Lighting Problems in entrances, lobbies and other high-contrast locations.
If you have both bright light and dark shadows in the same frame, Wide Dynamic Range (WDR) is usually your best place to start.
Instead of forcing you to choose between blown-out highlights or pitch-black shadows, WDR tries to balance the entire scene so you can actually see what is going on everywhere.
True WDR does this by capturing multiple exposures of the same moment and stitching them together into one clean image. Axis, for instance, uses this multi-exposure technique to keep details sharp and readable, whether they are bathed in bright light or hiding in deep shade.
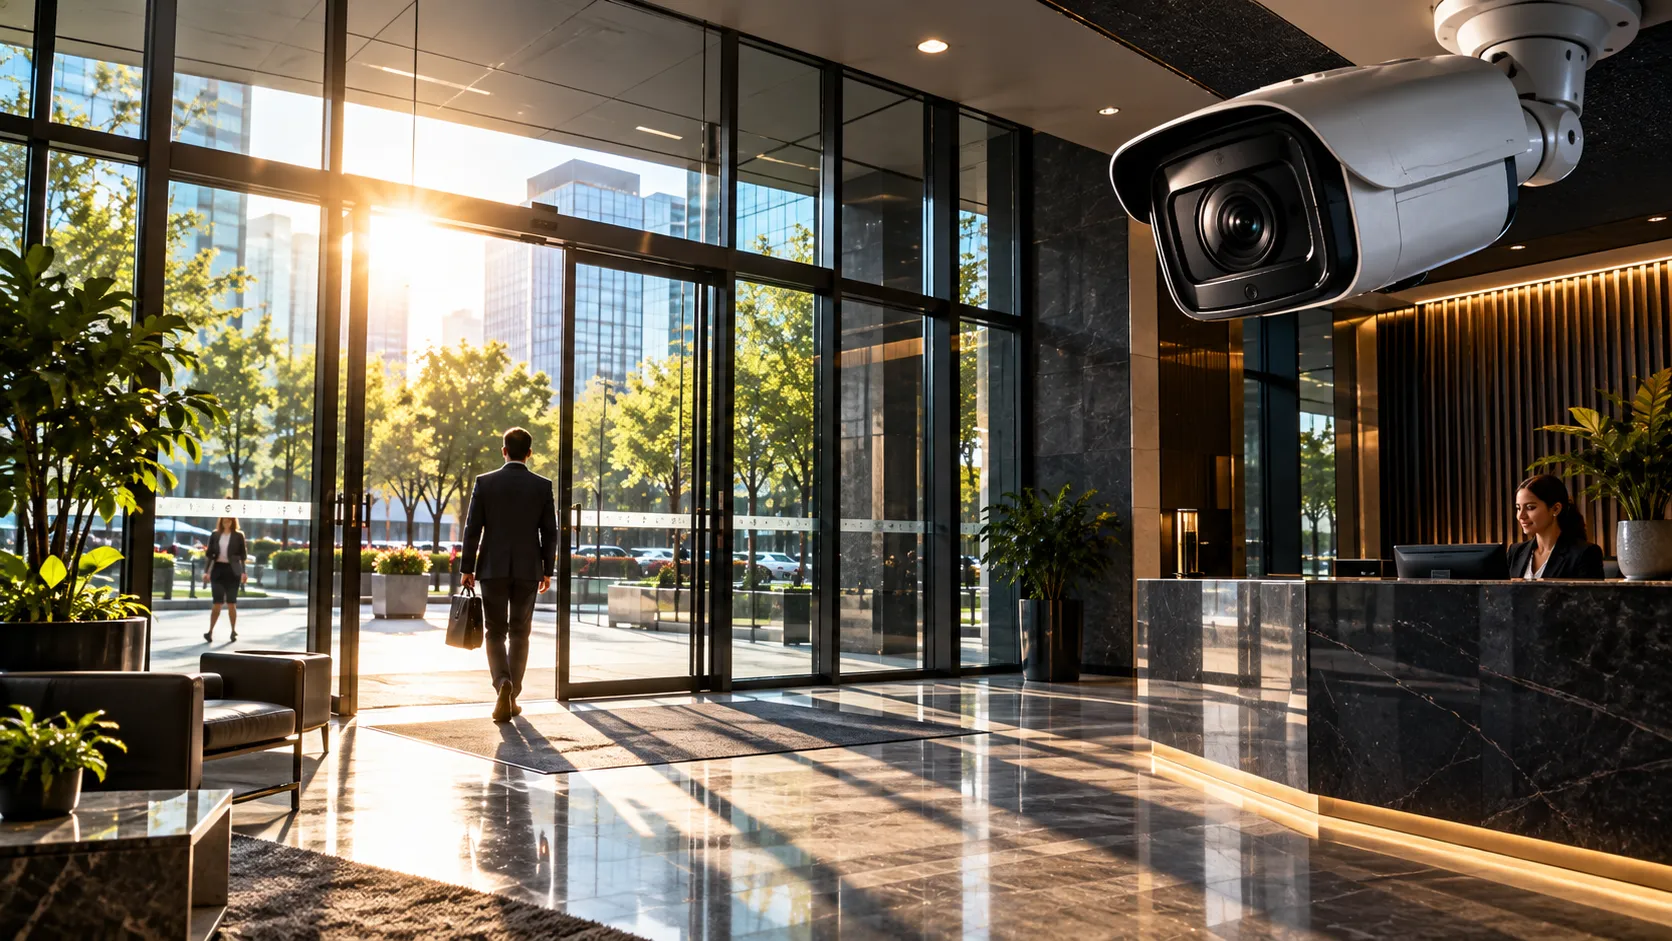
This is particularly useful for:
- Building entrances where bright sunlight streams inside
- Reception desks placed right in front of giant glass windows
- Entryways and exits for parking garages
- Warehouse spaces with open loading bay doors
- Indoor rooms featuring floor-to-ceiling windows
- Outdoor areas covered in harsh, direct sunlight and deep shadows
Brands like Tiandy build cameras featuring 120 dB WDR alongside BLC and HLC settings, giving both fixed and motorized models the tools they need to handle tricky security setups.
That said, you shouldn’t pick a camera based on its WDR rating alone. Movement in the scene can complicate things. Because the camera combines different exposures, fast motion can sometimes cause blur, ghosting or weird visual artifacts. Axis highlights that WDR isn’t always magic if movement creates too many visual glitches, tweaking exposure settings or turning WDR off entirely might actually yield a cleaner shot.
It is also worth noting that true WDR and digital WDR are not the same thing.
Digital WDR (or DWDR) uses software tricks to brighten dark areas after the picture is already taken. While it can help boost a problematic shot, it can’t match the image clarity of hardware-based, multi-exposure WDR. As Dahua explains in their technical guides, DWDR relies purely on digital processing, which often introduces noticeable image noise into dark spots.
You can see this across Tiandy’s lineup: higher-end models feature hardware-level 120 dB WDR, while budget options rely on software-based DWDR. So if mixed lighting is central to the application, the specification should be checked carefully rather than assuming every “WDR” label represents the same imaging method.
What BLC Changes in the Image
In the WDR vs BLC vs HLC comparison, BLC is the more targeted option when the foreground subject matters more than the bright background. This makes it useful for Fixing CCTV Lighting Problems where a face or object is underexposed because strong light sits behind it.
Backlight Compensation, or BLC, is a bit more focused in how it works. Picture someone standing inside an office entrance with bright daylight streaming in behind them. Without any adjustments, the camera usually exposes for that bright background, leaving the outdoors looking fine while turning the person’s face into a dark shadow.
BLC tells the camera to focus on making that darker subject clearly visible instead. This brings out the foreground so you can actually see details, though the already bright background will likely wash out even more.
Camera manuals describe BLC in the exact same way: it brightens up your main subject in backlit conditions, but it can blow out the background light in the process. That makes BLC ideal when the subject is far more important than what’s behind them. For instance, if your main goal is recognizing faces coming through reception, blowing out the outdoor view through the window is usually a fair trade-off. However, if you need a clear view of both the person inside and the car outside, WDR is going to be your best bet. So, treat BLC as a deliberate choice rather than just turning it on whenever a shot looks too dark.
When HLC Helps with Glare
The WDR vs BLC vs HLC decision changes again when the problem is concentrated glare rather than broad contrast. For Fixing CCTV Lighting Problems caused by headlights, lamps or spotlights, HLC is often the most relevant control.
Highlight Compensation (HLC) tackles the exact opposite problem: handling intense, concentrated spots of extreme brightness. Car headlights are the classic example here. At night, the background scene might look fine, but direct headlights can completely blow out parts of the image. The camera records big glowing white blobs, hiding important details around them. HLC spots those harsh light sources and tones down their intensity.
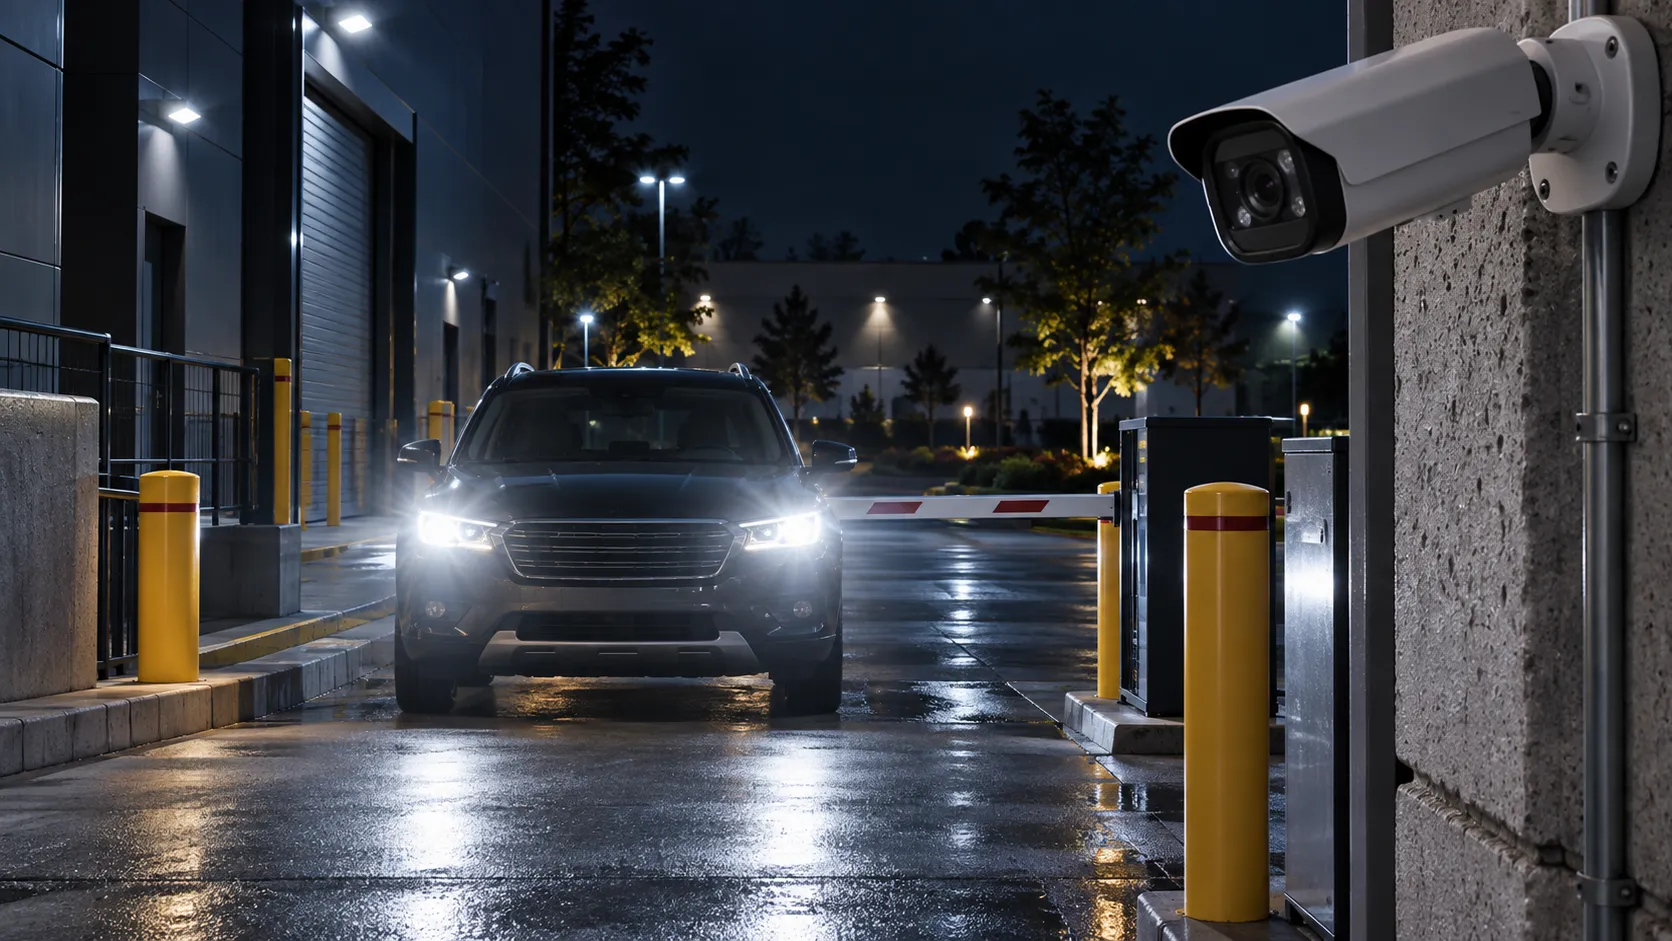
Camera manufacturers describe HLC as a way to suppress glare so you can actually see the details nearby. It works wonders around things like:
- Vehicle headlights
- Loading-bay entrances at night
- Parking entrances
- Security spotlights
- Bright lamps facing the camera
- Other concentrated glare sources
Keep in mind, HLC isn’t the same as WDR. While WDR balances large bright and dark regions across a scene, HLC is specifically built to cut through harsh, localized glare. That’s why many security cameras give you all three options instead of expecting one feature to solve every lighting issue. Certain Tiandy models, for instance, explicitly feature BLC, HLC and 120 dB WDR side by side.
Choose a Mode for the Scene
A practical WDR vs BLC vs HLC workflow starts with identifying the lighting problem before changing any setting. That simple diagnosis is often the fastest route to Fixing CCTV Lighting Problems without overprocessing the image.
If there’s one rule to keep in mind, it’s this: don’t worry about whether WDR beats BLC or if you should always leave HLC on when it gets dark. Instead, look at what’s actually going wrong with your picture and pick the fix that fits.
Turn to WDR when you need to see clear details in both the bright spots and the shadows at the same time. Go with BLC if your main focus is a dark subject in the foreground and you don’t mind washing out a bright background to see them. Reach for HLC when intense, localized light like oncoming headlights or bright lamps is blinding the camera and hiding nearby details. Once you’ve made your choice, test it out under the exact conditions the camera will face day to day.
Glass Entrances and Reception Areas
Glass entrances are one of the clearest real-world examples for understanding WDR vs BLC vs HLC because the useful subject, background and available light can all change throughout the day.
Glass entrances are a textbook example of where WDR shines. Inside, the lighting stays fairly steady. But outside? Sunlight shifts dramatically all day long. At noon, direct daylight may dominate the entrance. Late afternoon may create deep shadows. At night, reflections from interior lighting can become more noticeable.
WDR is usually your best starting point here because you usually need a clear view of both inside and outside. That said, if all you care about is getting a clear shot of a visitor’s face as they walk in, switching to BLC might give you a better result for the foreground. It all comes down to deciding what evidence matters most before you start tweaking camera settings.
- Is it the person’s face?
- The exterior?
- Both?
That answer determines the exposure strategy.
Headlights and Loading Bays
Loading bays also show why WDR vs BLC vs HLC should be chosen according to the actual source of the exposure problem, especially when daylight contrast gives way to vehicle glare after dark.
Loading bays can be tricky because the ideal camera mode often changes between day and night. During the day, the camera might look out toward a bright open bay door while the interior remains dim. WDR works great here to balance both areas.
At night, vehicle headlights take over as the biggest challenge. HLC steps in to tame those intense high beams, keeping details around the vehicle readable. That’s why HLC is a go-to recommendation for parking garage entrances and spots with heavy traffic lighting. In scenes like these, setting up separate day and night profiles is often much better than sticking with a single static configuration.
Test Moving Subjects Before Sign-Off
Testing movement is important because a mode that looks excellent on a static frame may behave differently when people or vehicles move through the scene.
A configuration can look excellent while the technician stands still in front of the camera. That is not enough. People walk. Vehicles move. Forklifts cross warehouses. Doors open and close. Headlights approach from different angles. WDR processing can behave differently with movement, and strong exposure processing can sometimes create ghosting or motion blur. Before a CCTV project is accepted, test real movement.
Have someone walk straight from a brightly lit area into a dark shadow. Watch what happens as they walk toward the camera and then away from it. Drive a vehicle up to the loading bay at night. Flip the headlights on and off to see how the image reacts. Always review the actual recorded footage, not just the live preview screen. Pause the video right at the exact moment where clear identification is critical. If a face looks crisp while standing still but turns into a blurry mess as soon as they step through the doorway, the setup isn’t doing its job yet.
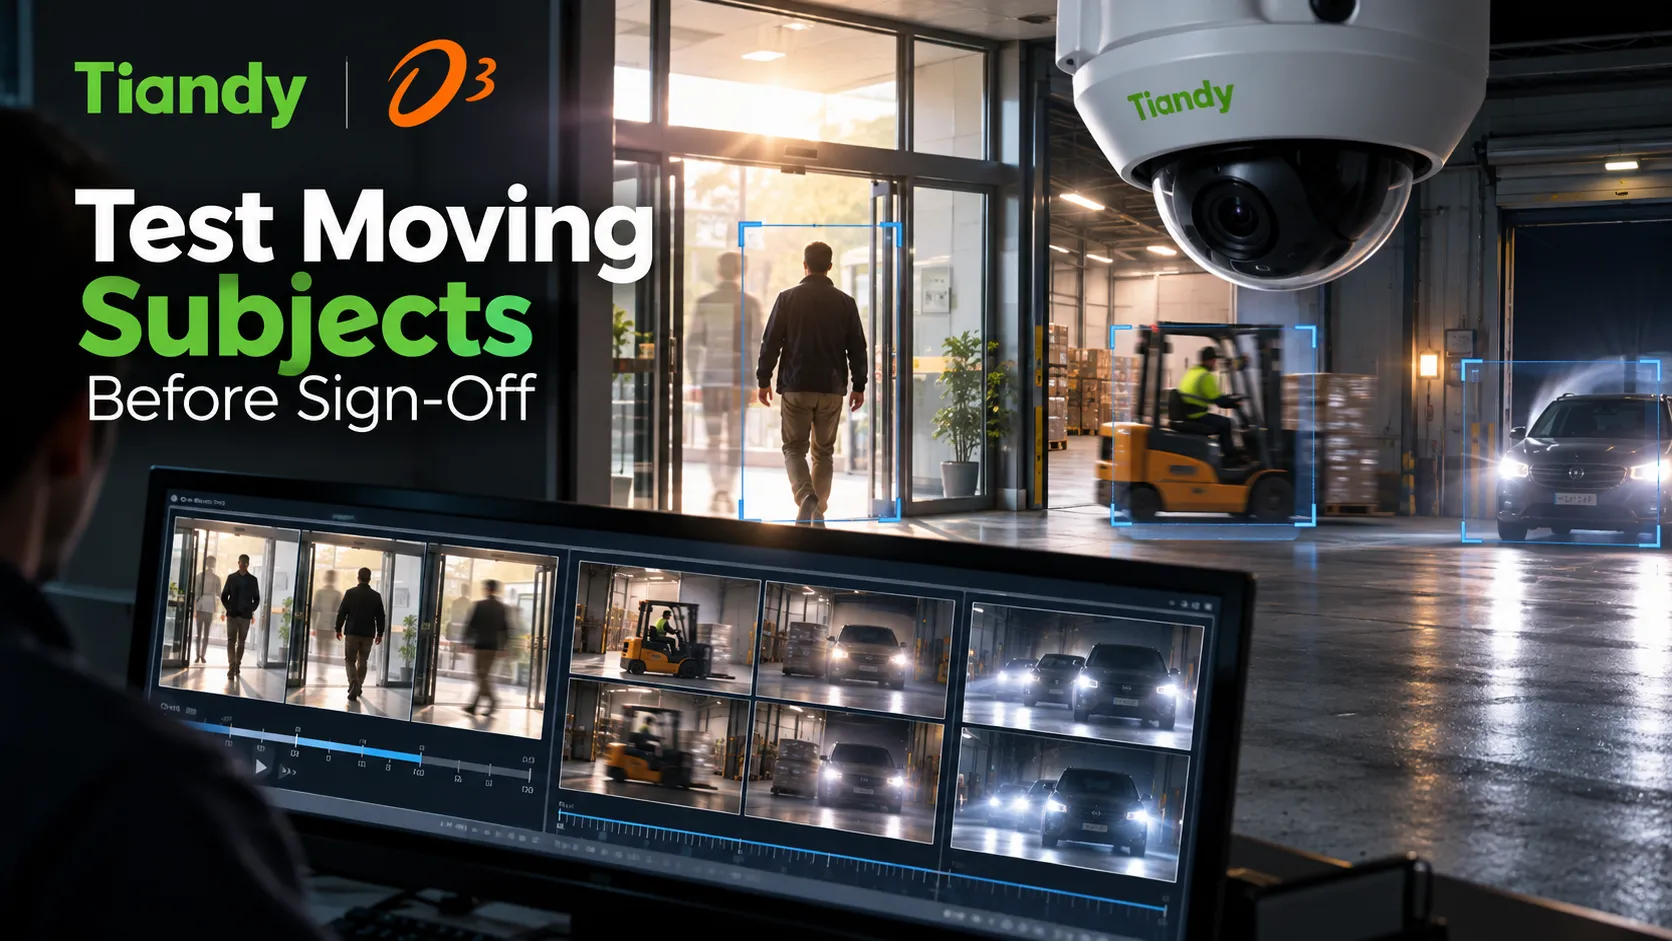
That’s why D3, as a Tiandy Distributor, focuses on this complete infrastructure approach across the GCC, covering smart camera selection, deployment guidance, layout architecture and real-world performance rather than just handing over hardware.
When Settings Cannot Fix Poor Placement
Even a correct WDR vs BLC vs HLC choice cannot compensate for every installation issue. Proper placement remains a major part of Fixing CCTV Lighting Problems, particularly when direct sunlight or headlights strike the lens at a difficult angle.
WDR, BLC and HLC are great features, but they won’t save you from a bad setup. Physical placement still matters most. If direct sunlight hits the lens for hours every day, adjusting the camera angle will give you a far better picture than messing with exposure settings.
If headlights are blinding the sensor, simply mounting the camera higher or off to the side can cut the glare before HLC even needs to kick in. And if your main subject looks tiny while a massive glass window takes up the whole background, that’s a framing issue, not an image processing problem. Adding physical light helps too. Throwing extra light onto a dark subject naturally lowers the dynamic range the camera has to manage.
So before commissioning a difficult surveillance scene, check the whole chain:
- Is the camera pointed in the right direction?
- Is your subject actually big enough in the frame?
- Can you angle away from direct light sources?
- Can you add dedicated lighting to help out?
- Did you pick the best exposure mode for the job?
- Does the video hold up when people or vehicles move?
For businesses across the GCC, hardware and setup expertise need to work together. Tiandy offers cameras with robust WDR, BLC, HLC and low-light tech, while D3 helps partners position them properly in real-world environments.
At the end of the day, exposure settings aren’t there to make your security footage look pretty. They’re there to make sure security teams can see crucial details when conditions are at their worst.